Showing posts with label Holiday. Show all posts

Monday, November 28, 2016

Elf on the Shelf Text Mesages


It’s that time of year again! That time when a special little visitor likes to visit homes with small children to relay back to Santa with naughty or nice reports.

Last year was a first for us.  I must say… It’s a lot of work, but so rewarding in the end.  Our elf helped all of us come together during the busy holiday season by bringing laughter, games, and even setting up an advent calendar made of children’s books so we read together every night.

It all started a couple weeks before Thanksgiving when I got a text message from Joyous Jolly Jingle.

**Reliable third party needed here. Change the name of one of your contacts, and have them send you periodic text messages.  Items needed: Elf, Photoshop, and a creative imagination.**

Every two or three days, a new message came.  It was the best one sided conversation ever!

“Hello family! Guess who.  Santa has heard rumors of you fighting and being naughty. He knows that you children are always on The Nice List, so he doesn’t believe it. To clear up this mix up once and for all, he is sending me to watch over you.  I’ll stay in your house and every night I’ll fly back to Santa to tell him if you were good or bad that day.  I’ll be there son, so you better be ready.”


“Hi everyone! Guess who again. I got a little lost, and I think I went too far south.  No worries, I’ll find my way to you soon.  I wanted to let you know that I’ve sent you something. It’s my gift to you, and I hope you like it. Read carefully and be sure to take good care of it. You never know when you might need it again.  Hurry, go and check your mailbox.”


This was fun because the text came through in an evening, and our mailbox is a half a mile away.  It was dark and cold outside, but we all put on coats over our pajamas and drove to the mailbox.  Can you guess what it was?  That’s right… the book!


“Where, oh where, has the little elf gone?  Where, oh where, could he be? It was a little cold where I was last, and on my way to you I found this warm and sunny place.  I decided to take a little pit stop and soak up some rays.  I’m so happy to be joining your family this Christmas, and I’m excited to find out my name.  Is it Pumpernickle?  Wisk? Flipperflop?  There are so many to choose from.  Pick a good one and I’ll see you soon.”


This text sparked a whole round of ideas.  Some good ones were thrown out, but my daughter blurted out Applejack, and we all fell in love with the name.

**It wasn’t until later that we learned that Applejack was the name of a pony from My Little Pony.  I will always remember this as the day that my little girl pulled one over on her brothers because if they would have known the origin, it would have been vetoed in a heartbeat.**

“Yay!!  This is SO much fun!!  It’s almost as fun as using my magic. I love my magic, so please PLEASE remember not to touch me when I get there.  It would make me so sad not to be able to tell Santa how good you kids are.  I gotta go, the funnel cake stand is calling to me.  Not too much longer till I’m home.”


Each text separately told the kids something important to remember.  That way they were ready when he got to our house.

“Happy Thanksgiving! I think I’m getting close!! Can you tell where I am? I can’t wait to see everyone and hear all your secret Christmas wishes.  I love lots of sugar, so keep a close eye on all your candy. Today, I am thankful for my new family.  Tell everyone what YOU are thankful for.”


The next day, he was in our lives playing tricks and bringing so much laughter to an already joyful home. 

Stay tuned for pictures of our adventures with Applejack.

Until next time…

Happy DIY-ing!!!

Original Photo Locations:

Thursday, March 24, 2016

Easter Bunny Bites


Need a quick and easy school snack for an Easter party?

I’ve got the perfect thing for you.


These Bunny Bites are so easy to make. 

All you need is popped popcorn, mini marshmallows, small pastel colored candies, and sandwich Ziploc bags.

When I was first looking for party snacks, I saw the popcorn balls that were made by melting the marshmallows so the popcorn and candy stuck together.  It was really cute, but since this was for preschoolers, all I could see were sticky hands getting melted marshmallow everywhere. 

With the Bunny Bites, they would get to pick out what they wanted to eat and what they didn’t, because we all know how picky little kids can be. 

Here’s how I made mine and what I used.


My Bunny Bites (filled 24 sandwich bags)
7 full size bags of popped popcorn
A full bag of mini marshmallows
Easter Sweet Tart Jelly Beans
Easter M&Ms
Easter Sixlets (Chocolate Balls)

At first, I tried to give the same exact amount of candy per bag and separated it into 24 piles.


Yeah, that was too hard, so I ended up putting approximately the same amount of M&Ms and Jelly Beans in each bag. Then I dumped one packet of Sixlets in each.


Now it was time for the popcorn.  I popped the popcorn and it in a big bowl to cool down. I worked with only two bags at a time.

Once cooled, I mixed in some mini marshmallows.  My mini marshmallows were a little sticky, so it worked out perfectly when they lightly stuck to bits of popcorn.


Place a cup of the popcorn mixture in each candy bag.


**Make sure to be careful not to include the unpopped kernels.  Those are never good for little teeth.**


Shake your bag to mix everything together and lay it face down so all the colorful candies fall to the front of the bag.


Press down on the bag to squeeze out the air.  This will help keep the candies from falling right back down to the bottom of the bag. Seal and done.


That’s all there is too it, and you have a great snack for any school party.

To dress up my bag, I stuck a template under the clear bag painted over it.  I was thinking of stapling a label to the bag instead, but I could see flying staples when the preschoolers ripped them off.  Painting was much simpler, I thought. (That was until I hit around 15 and never wanted to paint another bunny again J; 24 was a lot of little baggies to paint.) In the end, I have to say that they were pretty cute.  Little bits of paint did chip off in the end, but nothing that ruined the design.


Now, for the true test…

The kids at my daughter’s preschool really enjoyed them.  Some dumped out them on their plates so they could pick through the stuff, and others just ate from the bag. 


It was a very quiet snack time.  Like her teacher, Ms. Shawna, pointed out, “You know it’s a good snack when all you hear is silence.”

I hope all your Easter parties are as fun… and quiet… as my daughter’s was.

Until next time…

Happy DIY-ing!!!

Message in an... EGG?


I found this wonderful DIY for Easter, and it’s so simple it’s crazy.

You’ve heard about a message in a bottle, right?  Well, this is a message... in an egg! Not one of those cheap plastic ones either.  This is made strait from the chicken and turned into something truly amazing.

My son takes care of twenty chickens and we just started getting a dozen eggs, at least, a day.  I am surrounded by eggs!  My husband can’t sell them fast enough, and there are only so many times kids will want to eat eggs in a row.  Easter couldn’t have come sooner!

This year I hit the internet hard for all things eggs.  There are so many things out there, but what I kept getting drawn to was the hollowed out eggs so people could put things inside.  Glitter, cereal, grass, paint… You name it, someone probably putting it in an egg. 

Everything I saw, a big portion of the shell was gone, so I know how the insides came out.  What really caught my eye was the tiny love note found in a cracked egg. {Love Message in an Egg}
It’s so cute, and kind of romantic.

By the looks of things, the process looked more daunting than fun, but I wanted to try.  Oh man, was I wrong!  Out of everything I did this Easter, this was probably the easiest. 

Here’s how:

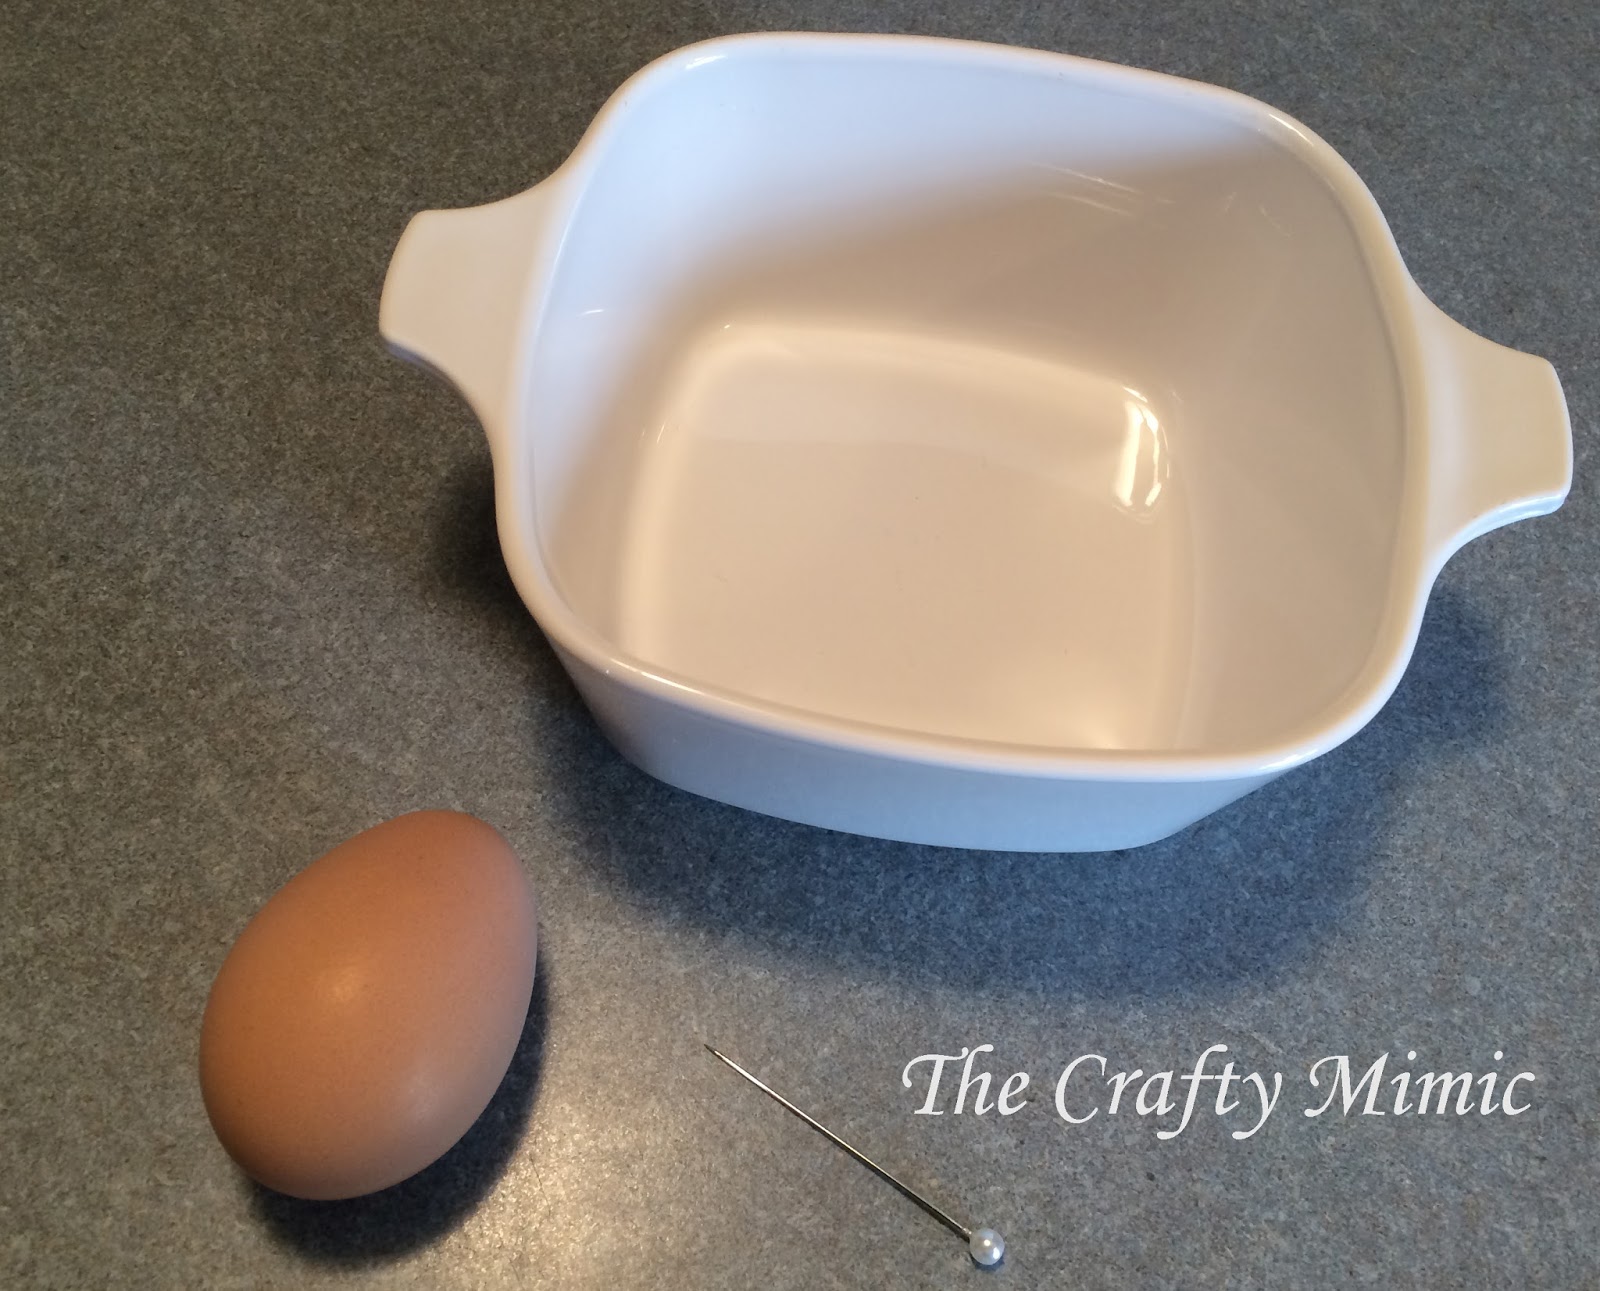
Grab a small bowl, a needle, and of course an uncooked egg.


Poke a small hole in the bottom of the egg with the needle. I also used the needle to break the yoke apart while doing this.


Make the hole a tad bit bigger, but not too much.  I used the needle for this as well.  You want it small enough to be discreet, but large enough for the insides to come out.


The problem…  I held the egg over the bowl, but nothing came out.  I gave it a little shake, but still nothing.  Here’s the trick…

Poke a small hole it the top as well.   Not a big one, just the size of the needle.  Place it over the bowl and blow into the top hole. 


The air will push the insides of the egg out the bottom hole.


Once all the insides are out, run water over the bottom hole.


When water gets trapped in the egg, place your fingers over the holes and shake, shake, shake to clean it out.  Blow the water out the same way you did the yoke.  Do this a few times to make sure the inside of the egg is clean.

Place it over a bottle/container overnight so all the water can drip out.  This helps so the note won’t get wet. 


While that’s waiting, you can get your message ready.  Tear off a small strip of paper and write your message. 


It can be anything you want to say.  I was thinking that it might be cute for fortunes as well.  Instead of a “fortune cookie” you give out a “fortune egg”.

Roll it up as small as you can.  I used a toothpick for help and rolled it around that.


Oops, be careful when you put your message in.  The egg is fragile and my message was a little bit bigger than my bottom hole. My hole cracked a tiny bit bigger than I would have liked.

If this happens, it’s no big deal.  Stick a small piece of tape over the bottom.  The paint hides everything anyways.


Speaking of paint… Once the message is in, it’s time to decorate the egg.  You can use whatever you want to do this.  I used my acrylic paints and puff paint to give it some dimension.


There you have it, you’re very own “Message in an Egg.”


These would be great as gifts, or even party favors. 


The look on my kids’ faces when I cracked the egg and only a piece of paper was inside was priceless!  I felt like Super Mom because they thought I was the coolest mom in the world for making that happen. 

If you were to do this, what would you put in an egg?  What would it say?

Comment below and let me know.

Be sure to look around my blog for more holiday and Easter DIYs to do at home.
Until next time…

Happy DIY-ing!!!

Saturday, March 12, 2016

Leprechaun Loot... with a little extra poop


So when I was twelve, there was another girl in my school with the same last name as me. I mean, the nerve of some people! {LOL} Of course I had to find out who this girl was.  Apparently, she was wondering about me too.  We met each other and we’ve been great friends ever since. 

Because of our same, very Irish, last name, we always considered St. Patrick’s Day as OUR holiday. 

We grew up, had families, and moved away from each other, but she is always on my mind this holiday.

For this St. Patrick’s Day, I wanted to make a fun little gift to send her. 

I thought how my friend is surrounded by boys, and that brought my thoughts to my youngest son and how he gets a kick out of the weirdest things.  That gave me an idea…

“Leprechaun Loot… with a little extra poop”


This is so fun and easy to make!
Get a bottle or jar.  I took one of my empty Starbucks Mocha Frappuccino bottles, and pulled off the labels.  To get the sticker residue off, I used the great peanut butter method.


Fill half the bottle with the loot (AKA: Rolos).


Oh No! A wrapper defect!  Whatever shall I do? Oh wait… Got it…


Then, add the poop (AKA: Green Mint M&Ms)


Cover the top and shake, shake, shake it up!


Keep adding and shaking until the bottle is completely full.


Once the bottle was filled, I spray painted the lid green and made cute little labels to finish it off.


There you have it!  Leprechaun Loot… with a little extra poop.


***After a couple days, the contents of my bottle either settled or little leprechauns (AKA: my kids) stole some candy.  Either way, I had to add more, so be sure to keep extra candy around, just in case.***

I know my friend will absolutely love this, as well as her house full of boys. 

Is it just my family, or are ALL boys obsessed with “hilarious” farts and the mention of poop?

How do you like this idea for a gift?

Comment below to let me know!

I’ve got more St. Patrick’s Day things coming your way, so stay tuned.

Until then…

Happy DIY-ing!!!


St. Patrick's Day Fact from Global News...

Shamrocks are not Irish.
"Most clover species grow throughout Europe.
There may not be anything uniquely Irish about shamrocks themselves, but stories suggest St. Patrick used the three-leaf clover to explain the religion’s holy trinity of the Father, the Son, and the Holy Spirit."


For more facts you might not know, click here.

Wednesday, March 9, 2016

Lime Shamrock Gummies


It’s almost St. Patrick’s Day!  You know what that means… Green, green everywhere!

I’m going to let you in on a little secret… I LOVE St. Patrick’s Day.  For as long as I can remember, I always have.  When I was younger, my grandparents would throw these great parties, where everything was green.  Everyone was smiling, and having a good time.  That was more than likely from all the green beer, but to a kid, it felt like magic.

Since becoming a mom, my celebrating has definitely changed from when I was single.  No more parades, and no more green Jell-O shots.  Now it’s all about making sure that my kids wear green to bed the night before so their daddy won’t be able to pinch them first thing in the morning.  It’s getting to break out the St. Paddy's Day clothing and dressing as green as I want for 1 day only.  It’s warding off my kids pinches even though I’m wearing green, then retaliating when they finally get me.  Last, but not least, it’s the food.  The special foods made and reserved for only this time of year. 

First on my to do list this year was homemade Shamrock Lime Gummies.  Let’s think of these as the St. Patrick’s Day Virgin Jell-O Shot.


When I found these online, Homemade Gum Drops - A Mitten Full of Savings, it made me remember the old times, but something that was brought to today, for my kids and me. 


Here’s what you need:
Small Shamrock Cookie Cutter
2 cups Sugar
2 packets Unflavored Gelatin
1 ½ cups Applesauce
2 boxes of Lime Jell-O

  •      The original recipe called for 3 oz each, but I’m pretty sure that was just a typo.  The boxes need to be 0.3 oz each.


  • I used Sugar Free Jell-O.  This was going to my kids, and I figured there was already enough sugar in the recipe, they didn’t need more.

First, combine all ingredients in a saucepan.


Mix them all together.


On medium heat, keep stirring until the sugar mixture starts to boil. 

~ 

**This is where I kept thinking about Dory from Finding Nemo.**


Once the mixture is boiling, let it boil for around a minute. 
**Be careful! Sugar boils at a much high temperature than water and if touched, it is harder to get off your skin than a shake of a wrist to get hot water off.  Be Careful!!**

Once you’ve let the gelatin and sugar mixture boil, carefully pour it into a greased 9x13 pan.


Next, stick it in the fridge until the gelatin sets.  I waited around 2 hours.

Before you take out your mold, pull out a cutting board and dust the top with sugar.


Gently pull your gelatin mold out of the pan.


**I used a butter knife and ran it along the edges of the mold to help loosen it from the pan.**

Flip it onto the sugar coated cutting board, and dust the top of your mold with sugar as well.


Bring out your shamrock cookie cutter, and start cutting.

 
Okay, now I’ve got to be completely honest.  I had a bit of a problem here.  My mold wasn’t completely hardened in the middle when I took it out of the fridge.  This is when I found that out because the mold was starting to stick to my cutting board and absorbing all the sugar I had dusted the cutting board with. 

I quickly cut all the shamrocks in the mold and took a spatula to get them off the cutting board.


Once I got them off, I placed them on another cutting board and re-dusted them with sugar.  Then, I stuck them back in the fridge for another thirty minutes.  Crisis adverted!

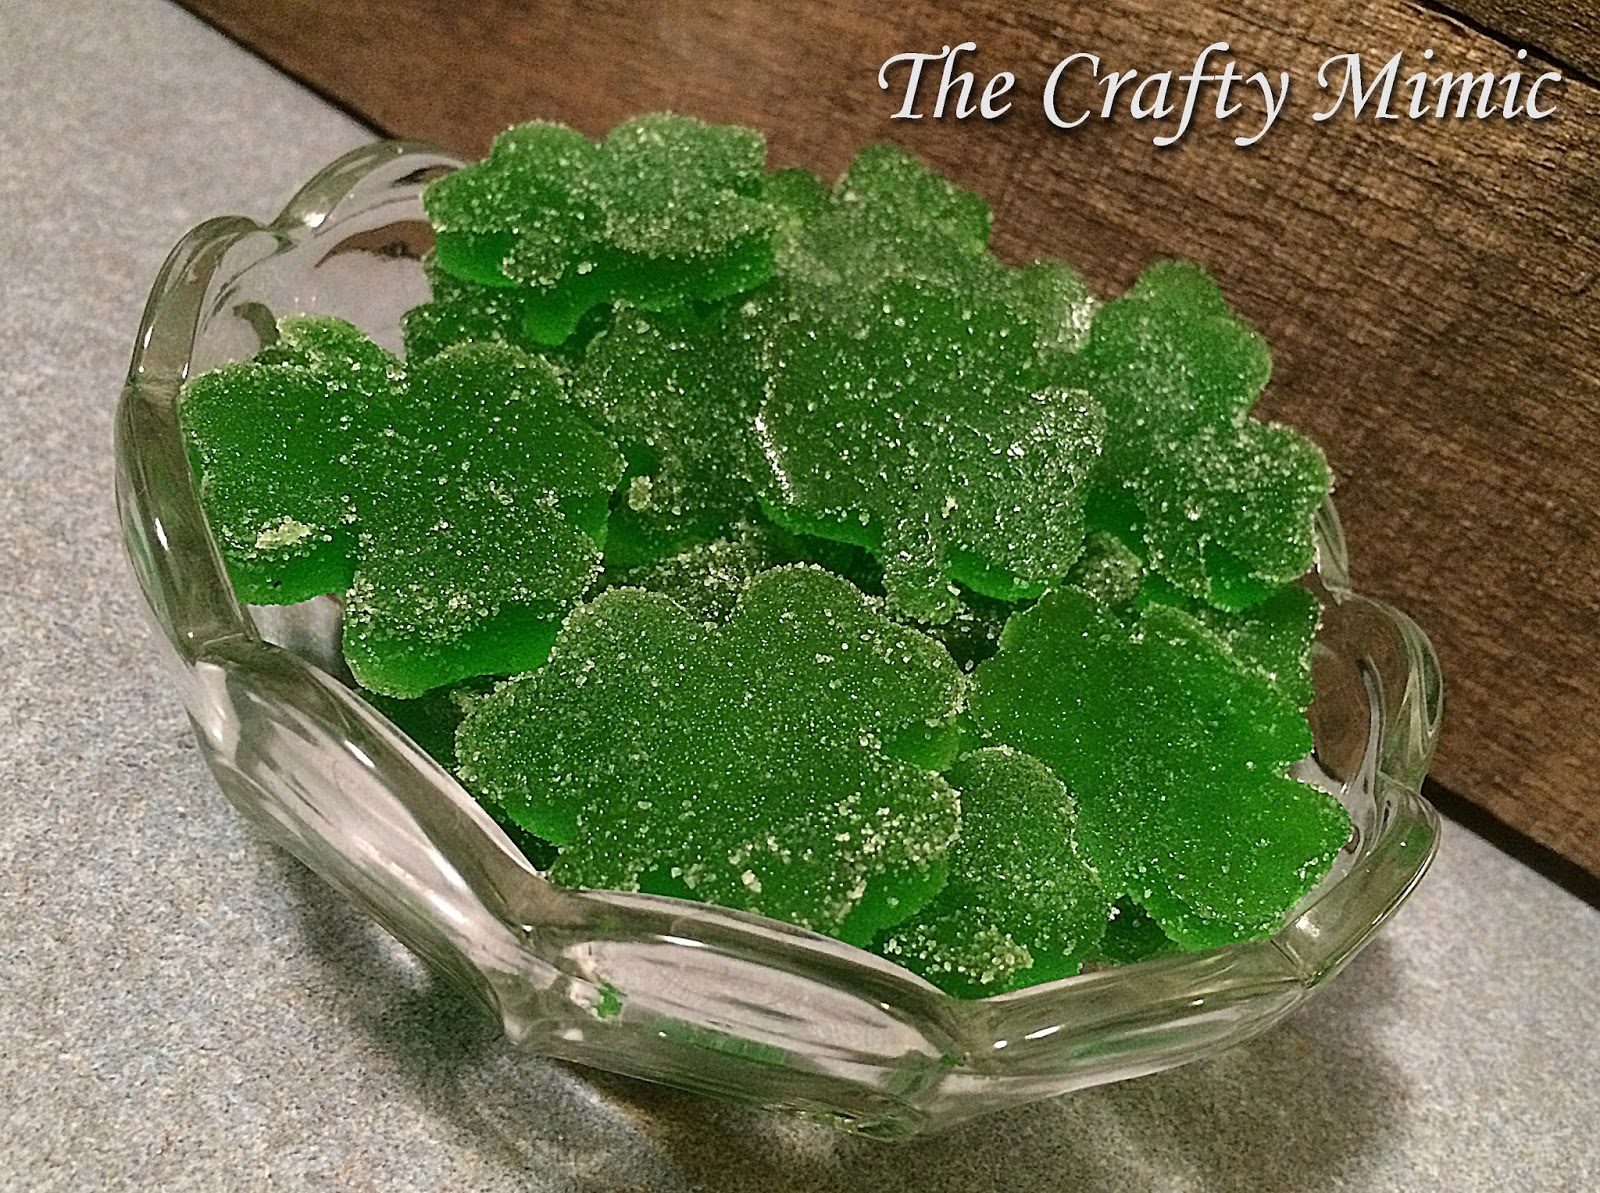
Bam! We had a cute little collection of homemade gummies.  Better yet… shamrock gummies!


Now I was stuck.  I had no idea how to store these things, so I did a little experimenting.  What I found was that these can be stored in the fridge or out of the fridge.  So there are no worries that you’re going to wake up and find green goo at the bottom of a bowl because your shamrocks melted when you stored them on the counter.  Yes, the thought had crossed my mind…  Just make sure they are stored somewhere airtight so they’ll stay fresher, longer.


*****Family Verdict*******

Most of us, me included, thought they were okay.  We’re not very big on lime flavored things though.  We all thought that strawberry would make for a better flavor.

However, this did not include my 15 year old boy.  He couldn’t get enough.  He even ate the remnants that were left over from cutting the shamrocks.  They were a BIG hit with him.

I think it boils down to flavor preference is all. 

************************

So I think this was a fun thing to start off this St. Patrick’s Day holiday. 

These would be perfect little treats for any party, or just something to get your family excited for the holiday. 

My kids are already planning how to ambush me that day.  This should be interesting…

Comment below and tell me what you think of this festive gummy!

What is YOUR favorite Jell-O flavor?

Stay tuned for more DIYs to celebrate St. Patrick’s Day!

Until then…

Happy DIY-ing!!! 


St. Patrick's Day Fact from Global News...
"Dublin Airport is offering words of wisdom for North American travelers explaining that “St. Patty’s Day” or “Patty’s Day” are not to be used. The reason? Patty is a nickname for Patricia, and Saint Patrick was—as you may have gathered—not a woman named Patricia.
So get out the double D’s: St. Paddy’s Day works because it comes from Padraig – a version of the Irish name Patrick."

For more facts you might not know, click here.