
What's under the bubbles??? A bath bomb, of course...
This DIY was interesting to say the least. You know that friend that I told you about during my Leprechaun Loot post, the one that’s surrounded by boys. Well, along with the fun Leprechaun Loot, I wanted to send something that was just for her; something that she could use to just relax and take some time for herself. That’s when I remembered seeing adorable little heart shaped bath bombs on YouTube.
This DIY was interesting to say the least. You know that friend that I told you about during my Leprechaun Loot post, the one that’s surrounded by boys. Well, along with the fun Leprechaun Loot, I wanted to send something that was just for her; something that she could use to just relax and take some time for herself. That’s when I remembered seeing adorable little heart shaped bath bombs on YouTube.
After watching video after video and
reading countless blogs, I came up with a plan to make my own. Of course since this was part of a St.
Patrick’s Day gift, I had to make them green.
What if I were to go one step further and use actual Green Tea?
Green Tea Bath Benefits
Restores
Skins Elasticity
Antioxidant
Healing
Properties
Click here
for more…
Then there was the oils… Every single
tutorial I watched or read talked about essential oils, so I had to go get
some. When I was at the store, I saw
eucalyptus. I am a sucker for
eucalyptus, and the combination with Green Tea sounded so earthy and appealing.
Benefits of Eucalyptus Oil
Anti-inflammatory
Decongestant
Antiseptic
Helps with joint
& muscle pain
Click here
for much more…
Here was my journey into the world of
DIY Bath Bombs…
Mini Eucalyptus Green Tea Bath Bombs
Items Needed
¼ Cup Epsom Salt½ Cup Baking Soda
¼ Cup Corn Starch
1/8 Cup Cream of Tartar
3 Family Size tea bags of Green Tea
3 tsp Lemon Juice
1 Tbsp Water
3 tsp Eucalyptus Essential Oil
3 drops Green Food Coloring
1 Tbsp Almond Oil
Mold
Bowl and Wisk


***There are a lot of recipes with
citric acid as the main ingredient to counteract with the baking soda. Problem… I could only find it online, and I
wasn’t going to wait. Then I saw that
Cream of Tartar has the same effect.
However, I only had a small container and bigger ones were pretty pricey. I also saw how lemon juice can be used, but
it doesn’t make the big fizzing action like a citric acid bath bomb. That’s how
I came to the conclusion to use the Cream of Tartar I had and lemon juice to
make up the difference.***
First, combine all your dry
ingredients (Epsom Salt, Baking Soda, Corn Starch, Cream of Tartar, & Green
Tea) in a bowl.

Wisk together.

Combine all your wet ingredients
(Lemon Juice, Water, Almond Oil, Essential Oil, & Food Coloring) in a
separate smaller bowl.

Now, this is where I put the wet
mixture into a small spray bottle, planning on spraying it onto the dry
ingredients. However the oil started to
clog the sprayer, so I ended up taking off the top and slowly dripping it in.

***Important… Add the wet ingredients
SLOWLY, so the mixture doesn’t react to the liquid.***
Put in a drop or two and whisk
together. Put in a drop or two and whisk
together… So on and so on…
I thought I would never stop
whisking! Eventually though, it started
to look like my favorite mint chocolate chip ice cream.

Check your mixture. If it clumps when you squeeze it in your
hand, you know it’s done.

Put it into your mold, and pack it
in.
I used a flower silicone tray, but I
have seen people use plastic molds, Christmas ornaments, and even a plastic
bag.


If using a silicone mold, like me,
don’t even think about touching it for at least 24 hours. I covered them and waited.

Even after that, mine were still damp
at the bottom and falling apart. I
pressed them back into the mold and stuck the tray in the freezer.
If a freezer is needed. Keep them in there for 30 mins to an hour,
take out the tray and let it cool before removing the bombs.
After taking them out of the tray, I
placed them on tissue to help remove any excess moisture.
Finally, it was time for the moment
of truth… The fizz test!
Disclaimer… No, it did NOT fizz as
much as I hoped it would have. It fizzed, but VERY slowly.
Ok, I might have been a little
disappointed that there was no big fizz action going on, so there was only one
thing left to do… I took it to the tub!


It dissolved much faster when I was
in the bathtub and there was movement in the water. Plus, it smelled SO
nice! Since mine were mini bombs, I saw
no problem with popping another one into the bath as well. I got out of the tub after I was thoroughly
prunie and my skin felt so light and airy.
I told that to my husband, and he had NO clue what I was talking about. Humph... <eye roll> That’s why I have
you people… You get it!
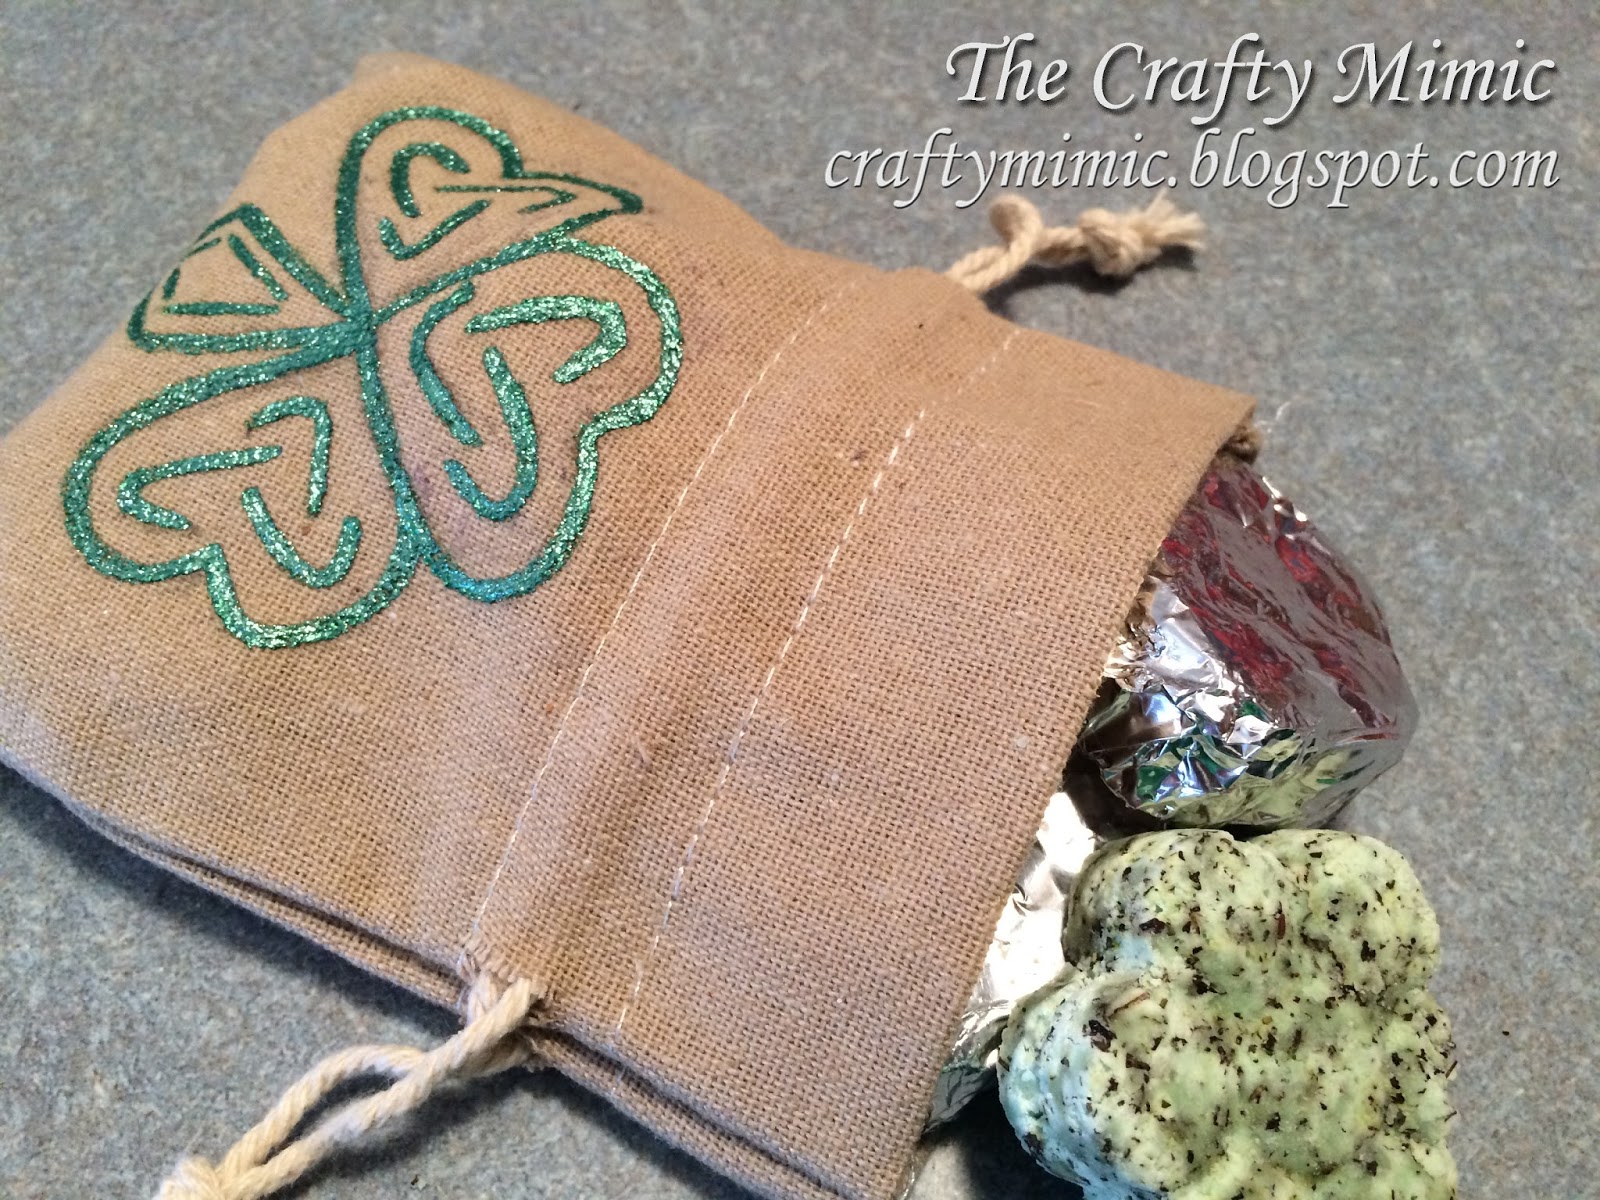
Because these were a gift, and my
friend LOVES clovers, I painted a quick Celtic clover on a mini draw string
bag, wrapped up the bath bombs in foil to protect them and keep out any
moisture, and placed them inside. It was
so cute, and I was a little sad when I had to mail them out.

Overall, I think these were a
winner. They are easy to make, and there
are so many different ways you can play around with them. I’m thinking I might try lavender ones next
time, maybe even with citric acid to get that big fizz.
Have you ever made bath bombs
before? How was your experience?
What combinations of scents do you
think would go good together?
There are SO MANY possibilities!
Until next time…
Happy DIY-ing!!!
St. Patrick's Day Fact from Global News...
Green has NO historical link to honoring St. Patrick.
Turns out blue was the color knights wore in the Order of St. Patrick.
The association with green likely dates back to the 18th century when Irish independence supporters used it to represent their cause. (Plus it goes nicely with the country’s grassy, viridescent hills).
Green has NO historical link to honoring St. Patrick.
Turns out blue was the color knights wore in the Order of St. Patrick.
The association with green likely dates back to the 18th century when Irish independence supporters used it to represent their cause. (Plus it goes nicely with the country’s grassy, viridescent hills).


